How to Get a Product Made
A step-by-step guide to getting a product manufactured

Hi there, I hope you enjoy reading this article. To have my team develop your project, fill in this contact form…
This guide will take you through the main stages involved in making a product. There are no hard and fast rules as every product is different particularly if it is innovative and hasn’t been done before. It is important to understand the different elements that make up getting a product made but please bear in mind that it is rarely a straight line process!
The journey from concept to reality can roughly be split into two with the first half of the process being everything up to a prototype and the second half being the process of taking that prototype and turning it into a manufactured product. So we’ll first look at the process of how best to take an initial sketch and develop a fully working prototype. This article will be a broad overview with links to more detailed explanations of particular parts of the process if you wish to dig into it further!
Making a Product - Step 1: Defining the Concept
This process will start by creating a detailed, specific and concise product brief. This in itself is not an easy process but sets the direction of the project and so it’s very important. Often the originator of the idea will create this brief and competitor research, market research and technical feasibility work might be necessary to actually finalise this document. Here are a list of things that should be in the product brief:
Details of the target market i.e. carers of their first child aged 3-9 months.
- How the product is used
- Benefits of the product to the consumer
- Suggested target retail price
- Any key requirements such as weight, dimensions etc.
- Any specific materials that should be used
- Key aesthetic requirements such as finishes, patterns or colours
- Details of the range if it is part of a wider group of products
Making a Product - Step 2: Detailed Design
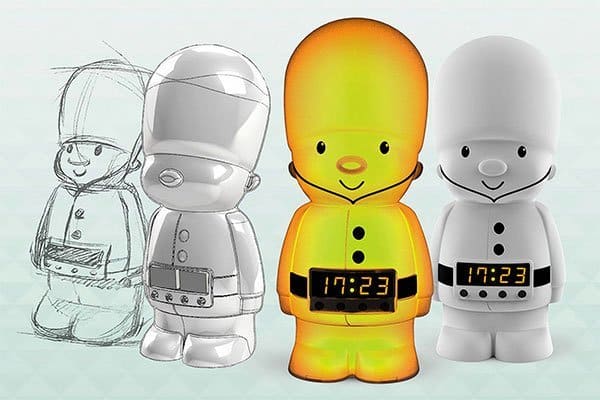
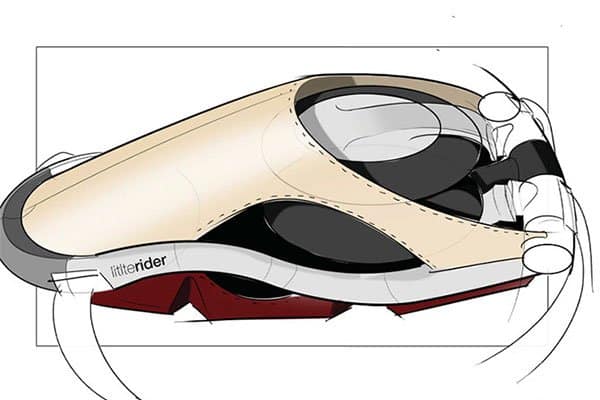
The details of your design now need to be worked out given that the overall direction for the concept has been defined. This is often done best completed by an experienced product designer but you should still be heavily involved in the development of your product as it is your baby! If your product is a textile product then this is best done with detailed hand drawings but if your product will be made from hard materials like plastic or metals then this is best done on professional 3D design software. You can read more about textile product development here: Textile Product Design
It is best to review with a focus group of target consumers between each stage to ensure that you are designing for your market and not just for yourself or what you think that your market wants. Read more on this here: Designing Products that Sell
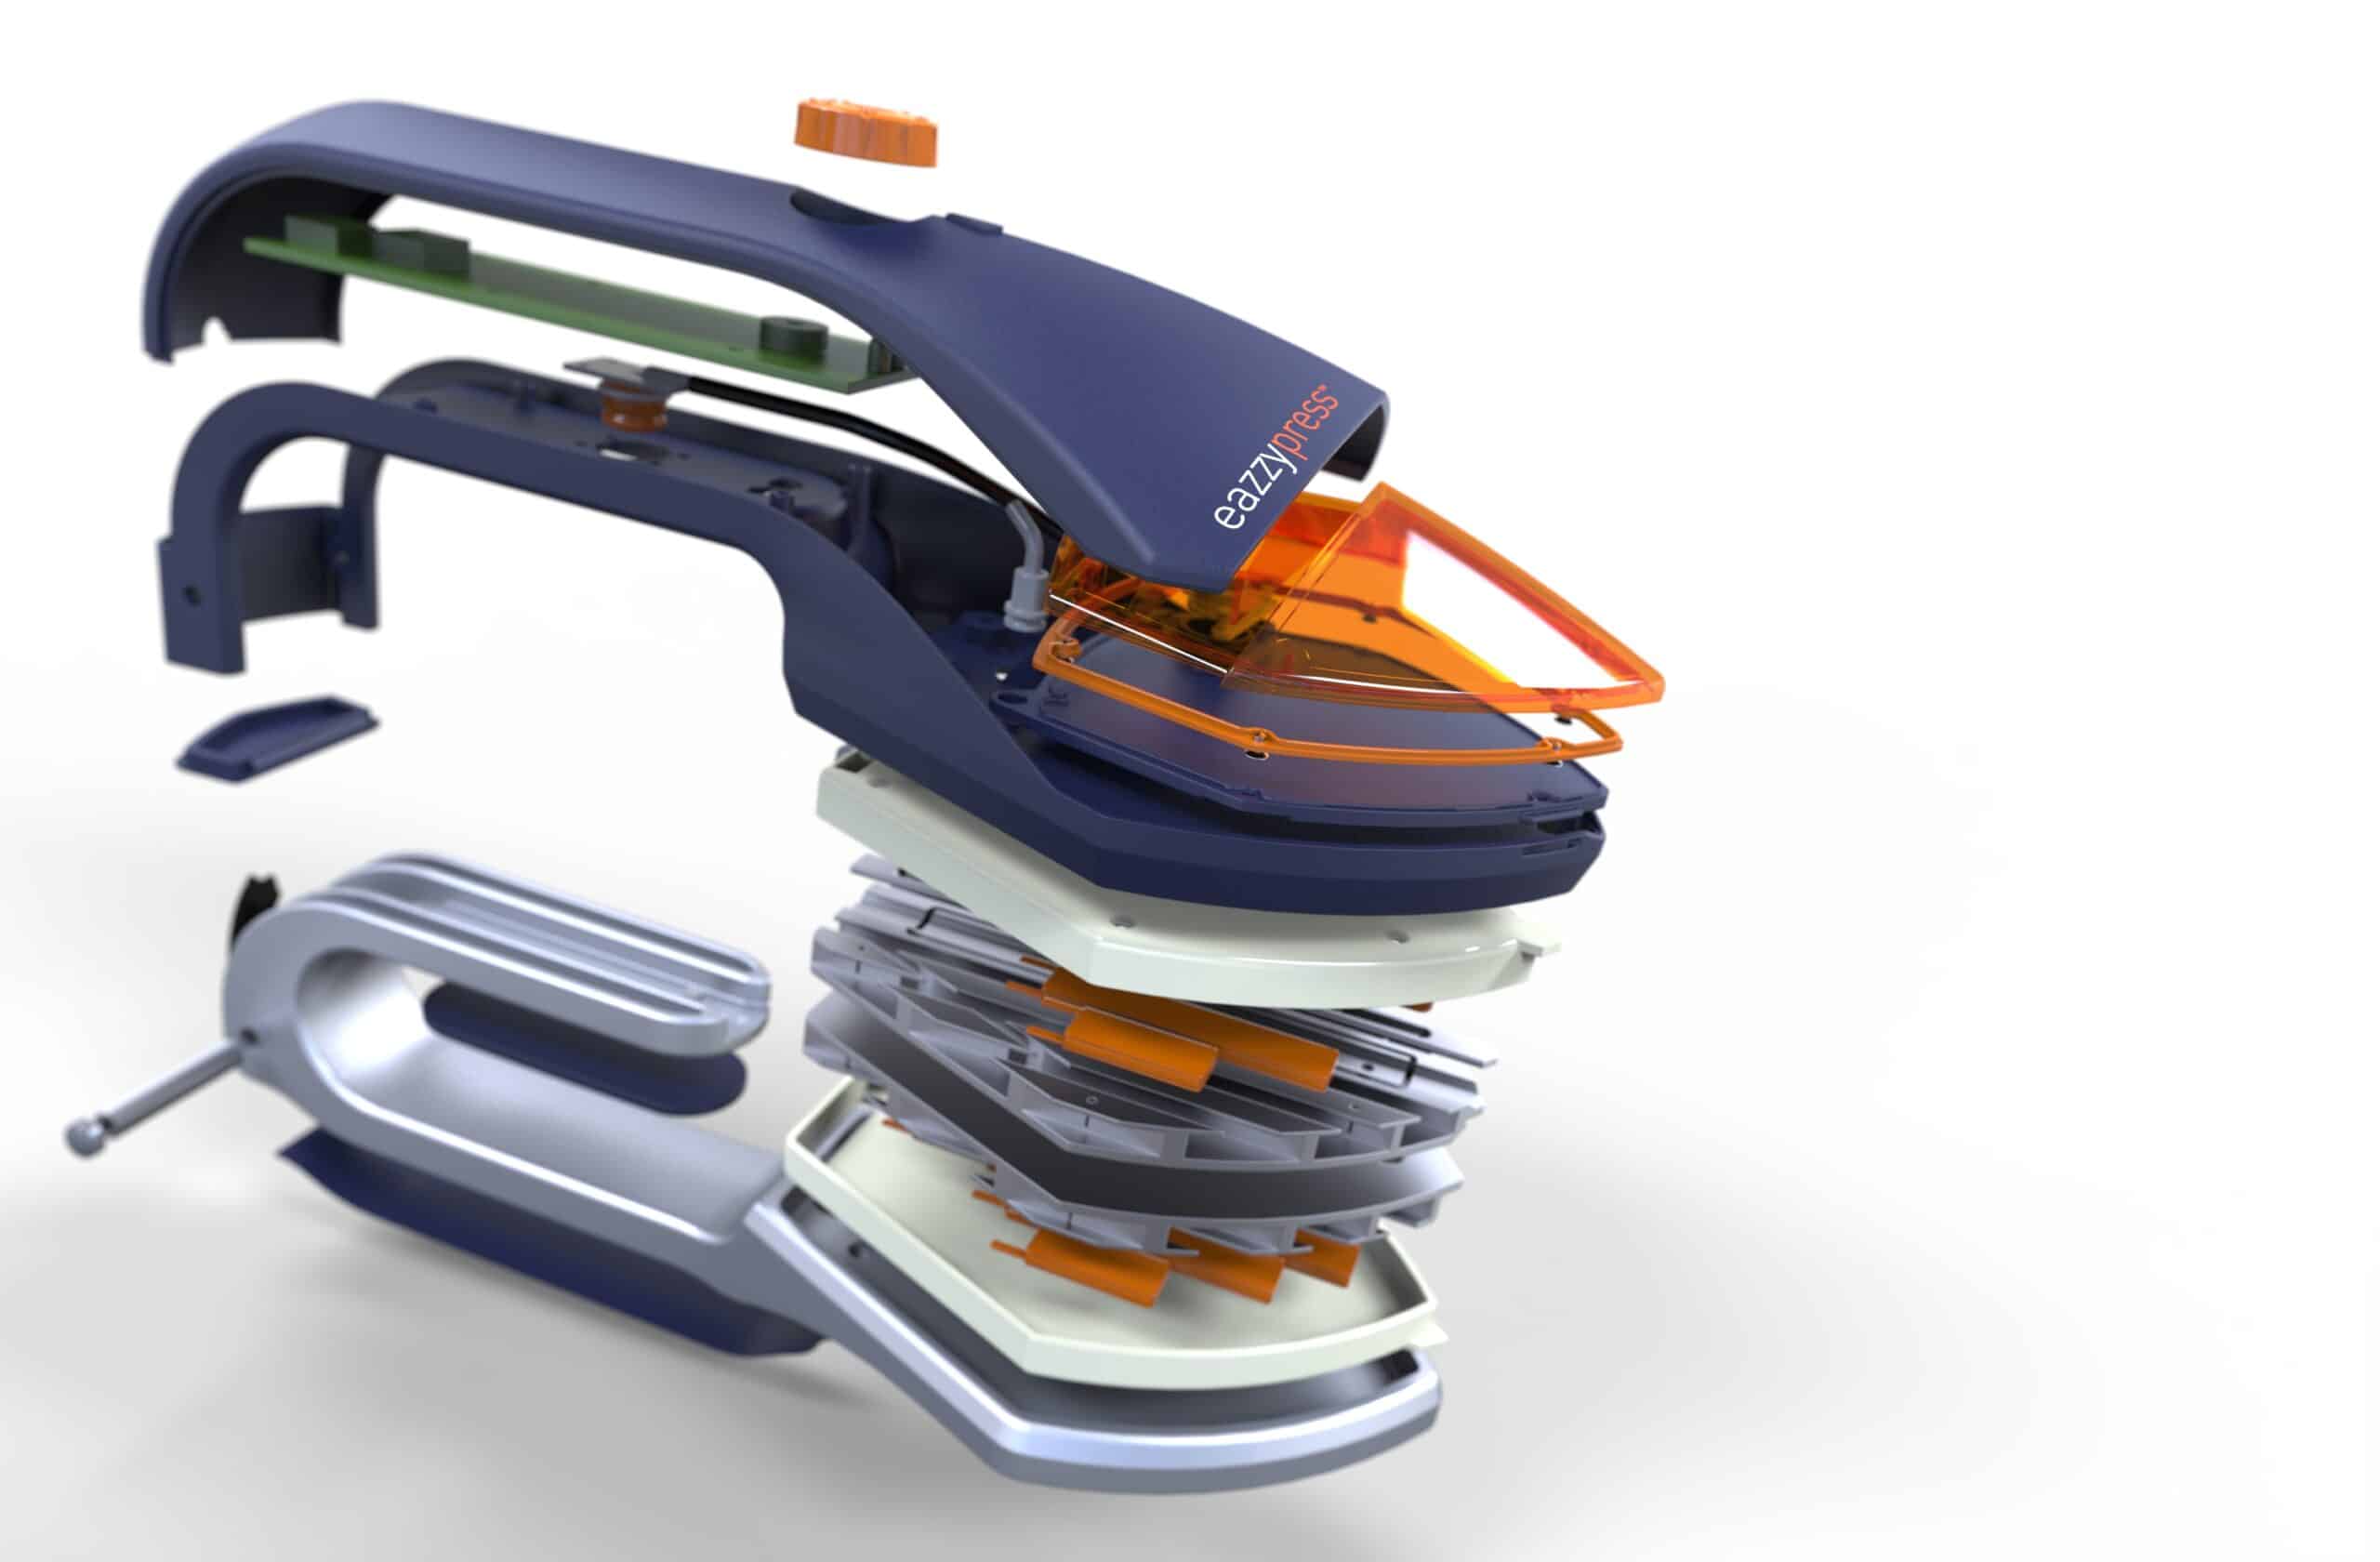
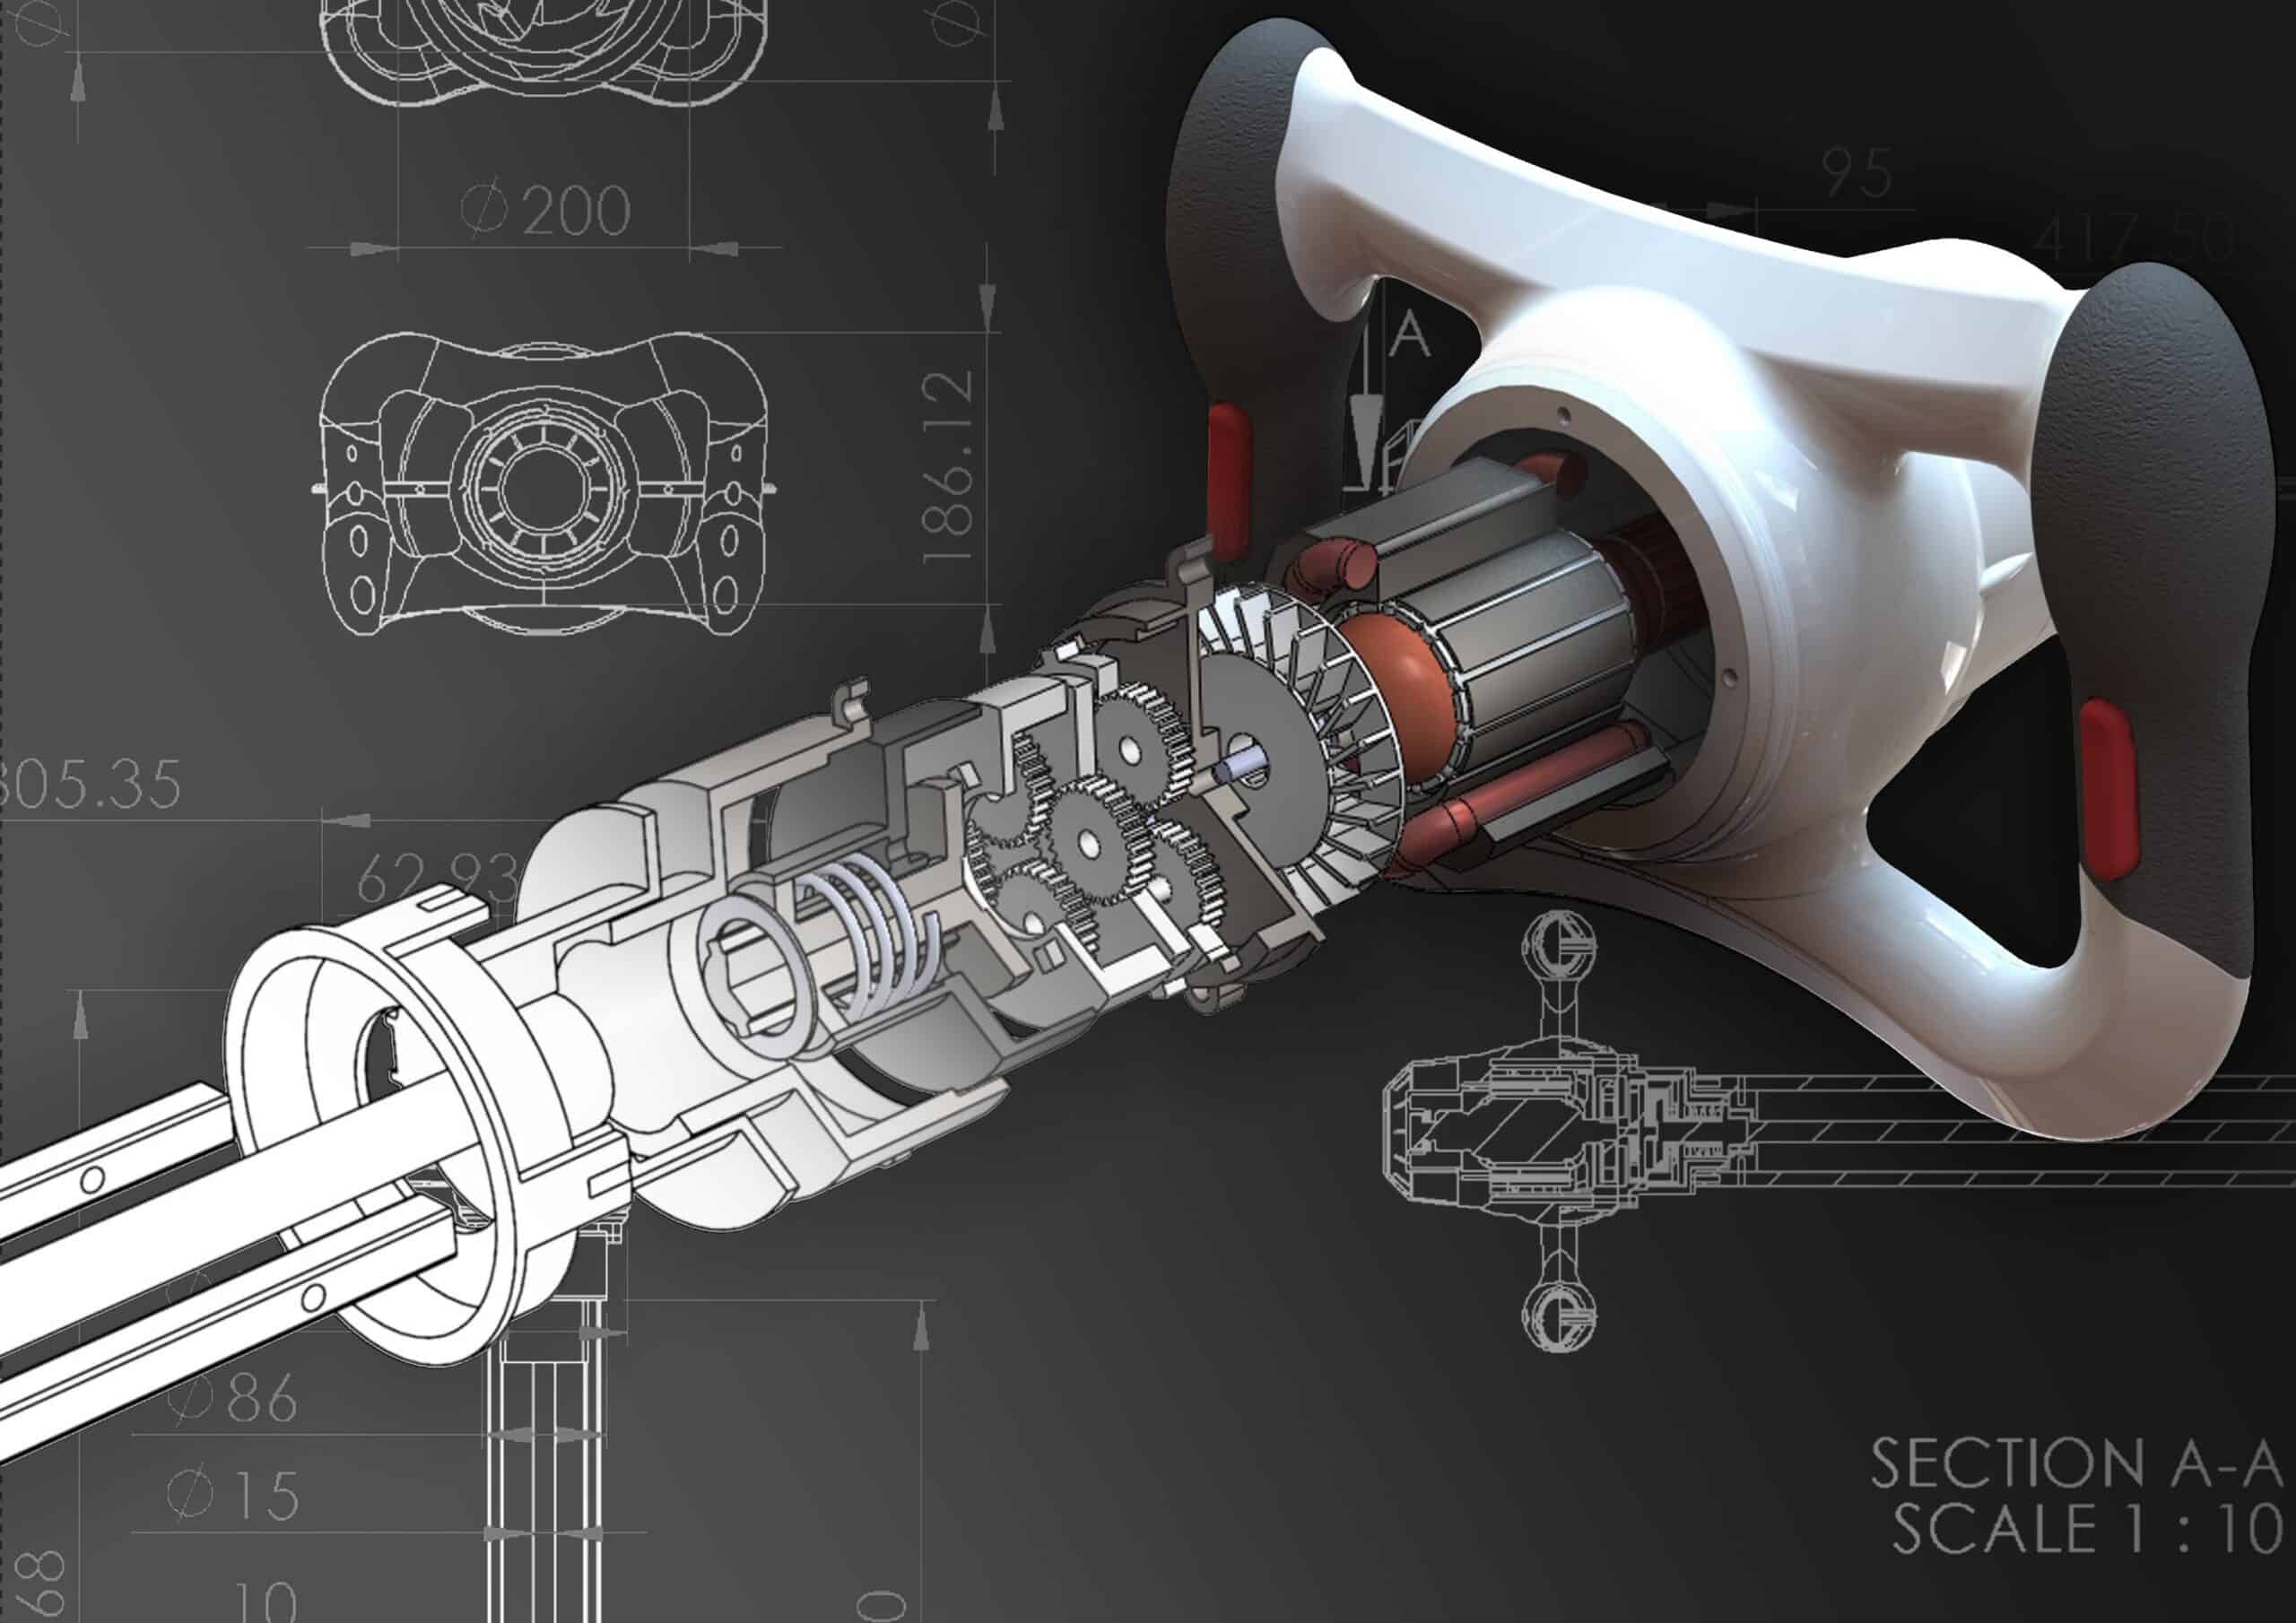
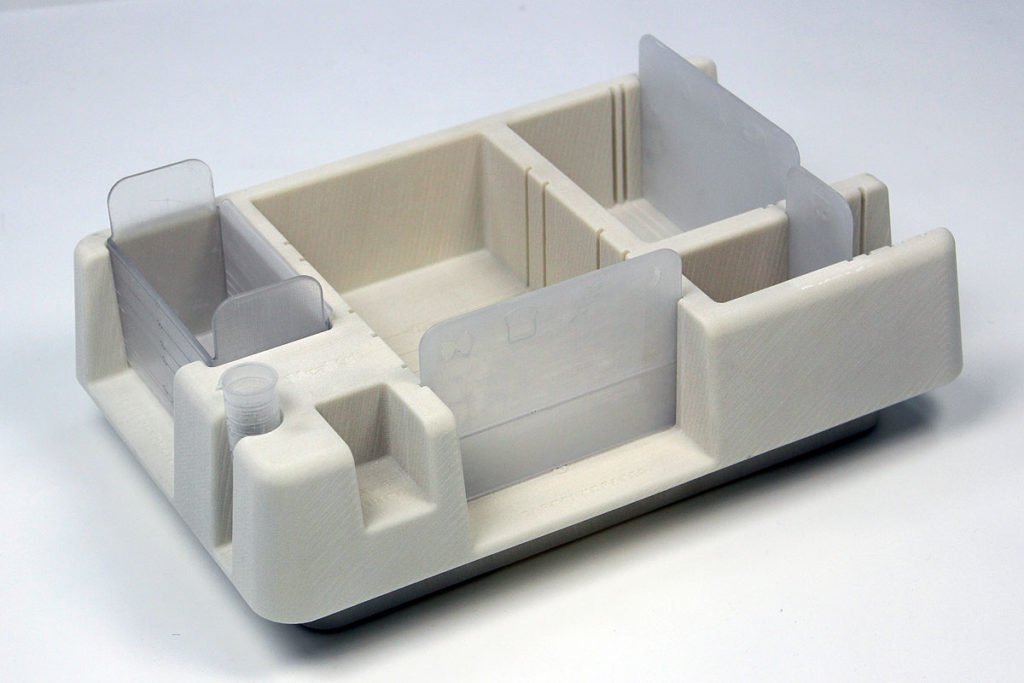
If your product is predominantly hard goods then computer aided design will be an essential part of producing a prototype. Here the concept is developed in 3D using powerful computer software. The resulting files can be reviewed and signed off before then they are used for rapid prototyping via 3D printing or machining to make more functional components such as wheel axles. Read more about how D2M can help with this stage here: Industrial Design
Some people train themselves in Computer Aided Design to design the product themselves. Please remember that an experienced product designer has done at least 3 years at university and then probably 6+ years in industry learning their trade. Often it is best for you to focus on marketing, investment readiness and route to market whilst paying the design engineer to do their job!
Making a Product - Step 3: Making the prototype
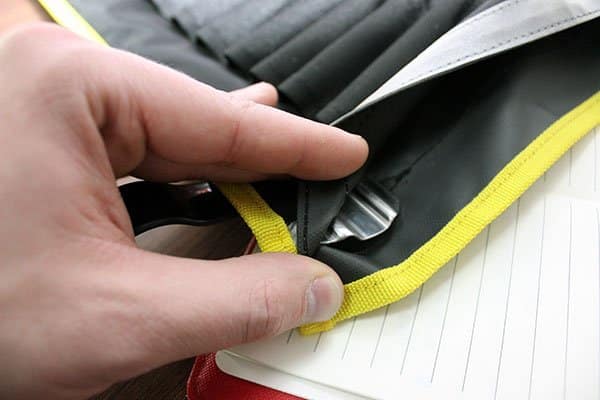
The next step in getting a product made will be to develop a prototype. If your product is predominantly textiles then you won’t need computer aided design models and physical prototyping can commence quite quickly. It will probably take two or three rounds of prototyping to get a model that you are happy with. You might sew the first prototype yourself to work out the overall dimensions and ensure that the basic functionality works. Beyond that you will need the services of a professional textile product developer and D2M are specialists in this. Contact us today to discuss your requirements and get a quote…
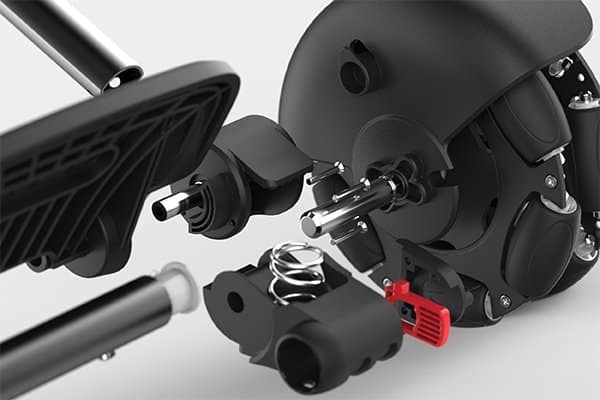
If your product is hard materials then, like with textiles, it is likely to take two or three rounds of prototyping to get to a final result that you are happy with. Again you might be able to start building your own rough prototype to figure out some key details, but then you will need the services of a design engineer. Avoid using pure prototypers at this stage. They often focus purely on getting a model made of your concept and don’t consider how to design the product for mass production. As such the design then has to be extensively reworked at more cost to you.
Once you have a working prototype that is representative of your final product then you are well on your way to having made your own product.
Making a Product - Step 4: Sourcing a manufacturer
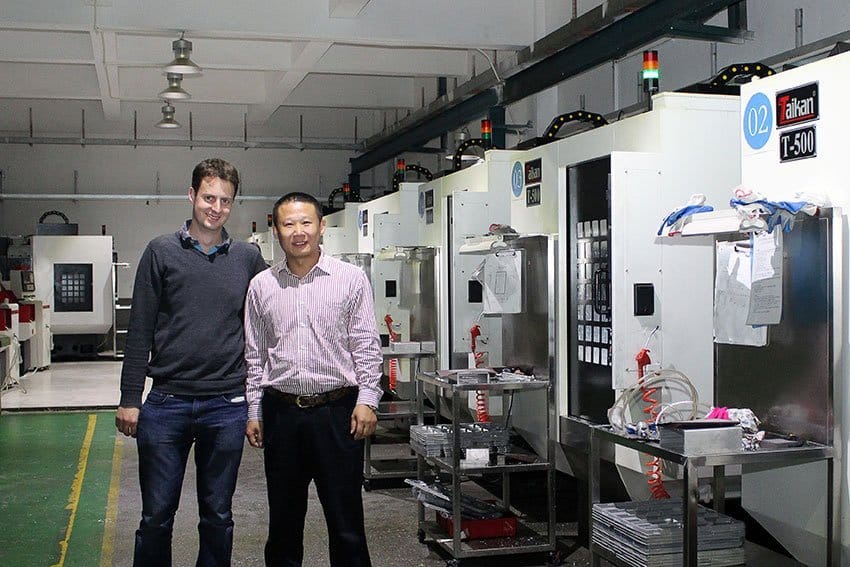
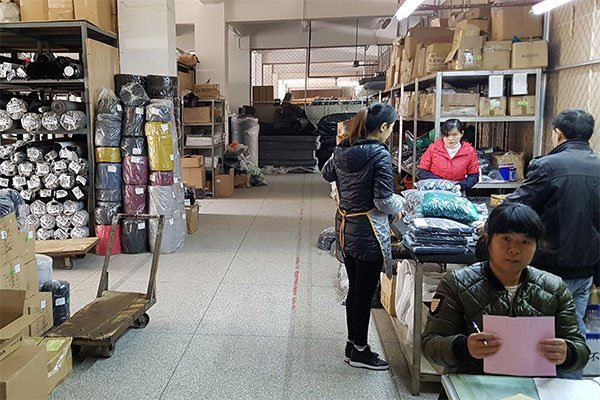
This is a critical stage as the wrong manufacturing partner could cost you thousands or ruin your reputation with inferior product. It is best to go off recommendation when you can, and we always suggest visiting your potential manufacturing partners even if they are in the Far East.
A lot of people want to make their product in the UK or in Europe at least. This is challenging but is possible. We have written a detailed article on this here: Can I now make my product in the UK?
Please don’t go on Alibaba and find the first manufacturer that claims to make your type of product. We hear too many horror stories of people who have lost tens of thousands of pounds doing this. D2M can provide a manufacturer sourcing service from our extensive database of manufacturers we have worked with previously, even if you already have the product development done. Please contact us today to discuss your requirements.
Making a Product - Step 5: Design for Manufacture
This stage takes the current design and seeks to value engineer it for production. It will also add the necessary details to make it possible to manufacture using tried and tested manufacturing techniques. For example, if one of your parts is injection moulded in plastic, then an engineer will need to ensure that the thickness of the plastic is consistent throughout the part. If this isn’t done, the part will mould badly with shrinkage and a poor surface finish.
At D2M we often complete this stage with the chosen manufacturer. This integrated approach ensures minimum cost and risk to you by ensuring that the people actually responsible for the manufacture of your products are aware of the design intent and involved in the last stages of development of the design. Read more about D2M’s approach to design for manufacture here: Designing for Production
Making a Product - Step 6: Tooling
On almost any product, even textiles, some element of tooling will be needed to enable the product to be made efficiently in volume. For textile products this might be stamping tooling to cut out the panels to be sewn together. For metal products, extrusion tooling and bending jigs or welding guides might have to be created. For plastic products, injection mould tools will be a large part of your overall cost to bring your product to market.
Tooling is often the reason production ends up being done in China. We’ve been quoted three times the cost to make injection mould tools in this country compared with China. When even a small part needs a tool costing at least £3000, this often means manufacturing has to be done in the Far East.
This part of the process is often very unknown for clients and so I’ve included lots of photos below of different tooling types.
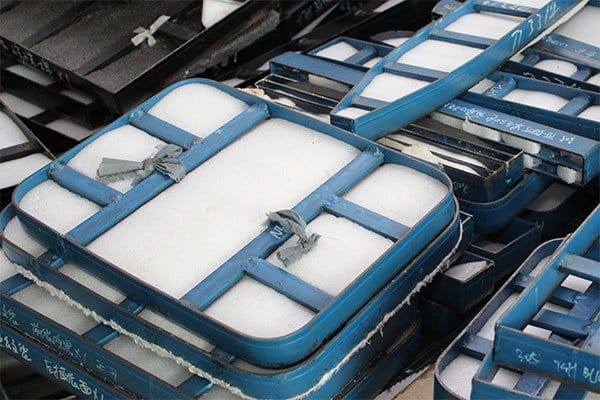
Textile Cutting Tool to cut 20 layers of fabric in one go with an industrial press.
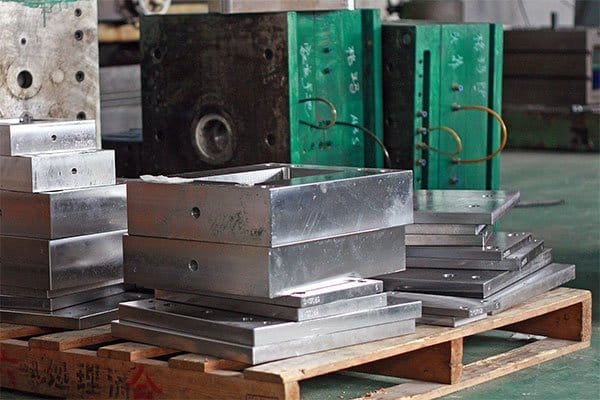
Stack of injection mould tools. The pallet gives you some idea of scale. Most factories have chain lifts to move them as they are so heavy.
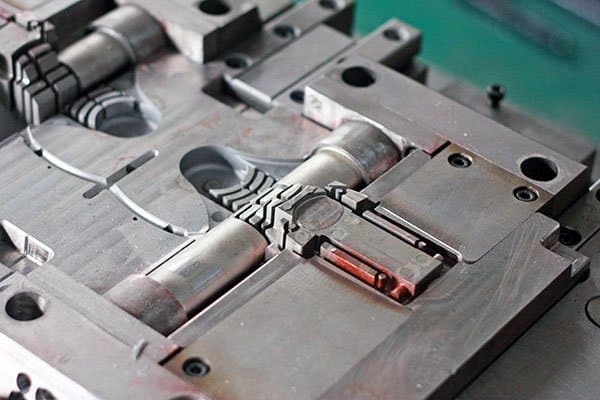
Details of an injection mould tool. Starts to show why they are so expensive, the steel is one cost but the time to machine the cavities is also a big part of the cost.
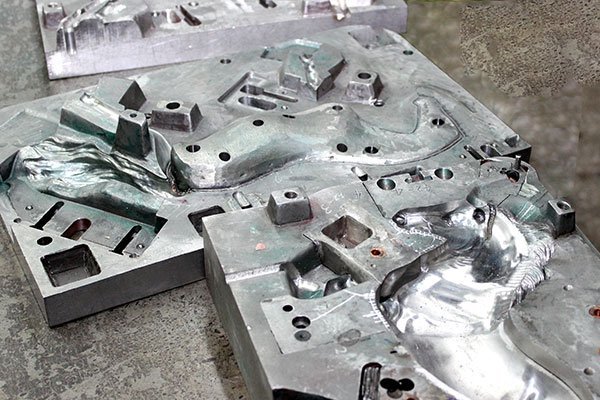
Injection Mould Tool for a plastic toy horse. This one had to be hand finished to get the details exactly right.
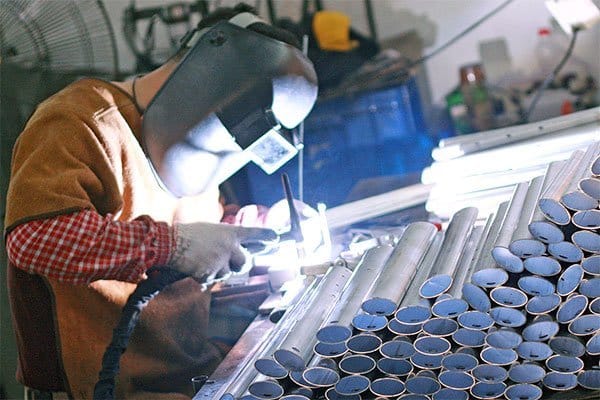
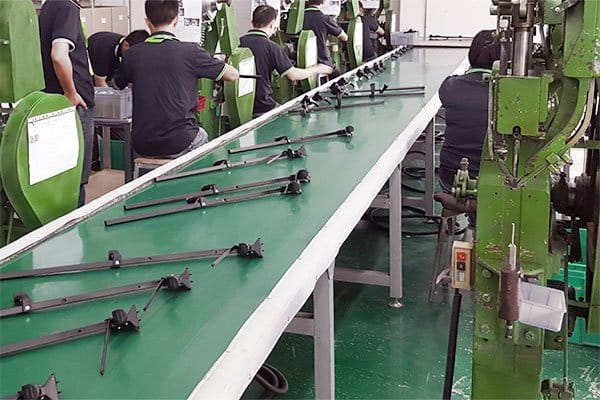
These tubes are produced using an extrusion tool. The welding is done by hand but using a jig to hold the tube in the same place every time.
Making a Product - Step 7: Sampling
Now the tooling is complete it’s time to check that the production items are the same as the design intended. It is not always possible to produce perfect replicas every time and all these production bugs need to be checked for and worked out.
Sampling and checking is best done in person in our experience!
Making a Product - Step 8: Going into Production
Once the samples have been approved then there are several final details to work out:
- Manufacturing contract
- Final confirmed costings
- Who will do the Quality Control
- Size of your first order
- Packaging design and sampling
- Shipping details
Then you can press go and wait for your first batch of product to come off the production line!
In summary, getting your product made is no small undertaking. However, it is incredibly rewarding and can be very lucrative if you get the margin right and people want the product!
D2M have supported hundreds of clients take their idea to market and just a few can be seen on our case study page.
Our email series takes you through the stories of 5 other products from concept to market. It also explains the 5 golden rules of innovation development to help minimise your risk and maximise your chances of success. For a limited time only it comes with 4 free ebooks on the key parts of developing and launching a new product.
You can sign up with the banner form below to get our unmissable email series of product innovation & 4 free ebooks.
(Make sure to Tick the box saying ‘receive further information’)
Book a free, no obligation, personal consultation with one of our senior product innovators to discuss getting your product made. Book my Appointment
From concept feasibility and viability to design development and prototyping, through to protecting your design, sourcing manufacturers and support with production, we are with you every step of the way.
Looking for a UK Product Design Company?
We are here to help you launch your innovative product!
You might also be interested in...
How to start with product development
The essential guide you must read before starting to develop your new product idea. Top tips and advice to help you succeed.
How to design for better profit margin
How to develop and launch new products with better profit margins, helping your business to grow and flourish!
How to protect a new product idea
Patents, registered designs or trademarks. We cover it all in this indepth article on protecting your intellectual property.